Struggling with inconsistent brake feel in your sim racing rig? You're not alone. Unreliable pedal response ruins lap times and breaks immersion. Proper load cell pedal adjustment can slash braking variability by up to 18%, transforming your control and realism. This guide walks you through prerequisites, stepwise calibration, common pitfalls, and safety practices to optimize your pedal setup for competitive performance.
Table of Contents
- Prerequisites And Tools Needed
- Step-By-Step Pedal Calibration Process
- Force Curve And Deadzone Customization
- Common Mistakes And How To Fix Them
- Safety And Durability Considerations
- Expected Results And Performance Indicators
- Explore Premium Sim Racing Gear To Complement Your Pedal Setup
- FAQ
Key Takeaways
| Point | Details |
|---|---|
| Reduced Variability | Proper adjustment reduces braking variability by 18%, improving stability and lap consistency. |
| Stepwise Calibration | Success requires mechanical mounting, sensor zeroing, force curve tuning, and deadzone optimization. |
| Regular Maintenance | Recalibrate every 5-10 hours to prevent drift and maintain peak responsiveness. |
| Deadzone Balance | Set deadzones between 1-3% to filter noise without introducing input lag. |
| Manufacturer Specs | Follow preload guidelines to ensure durability and avoid voiding warranty. |
Prerequisites and Tools Needed
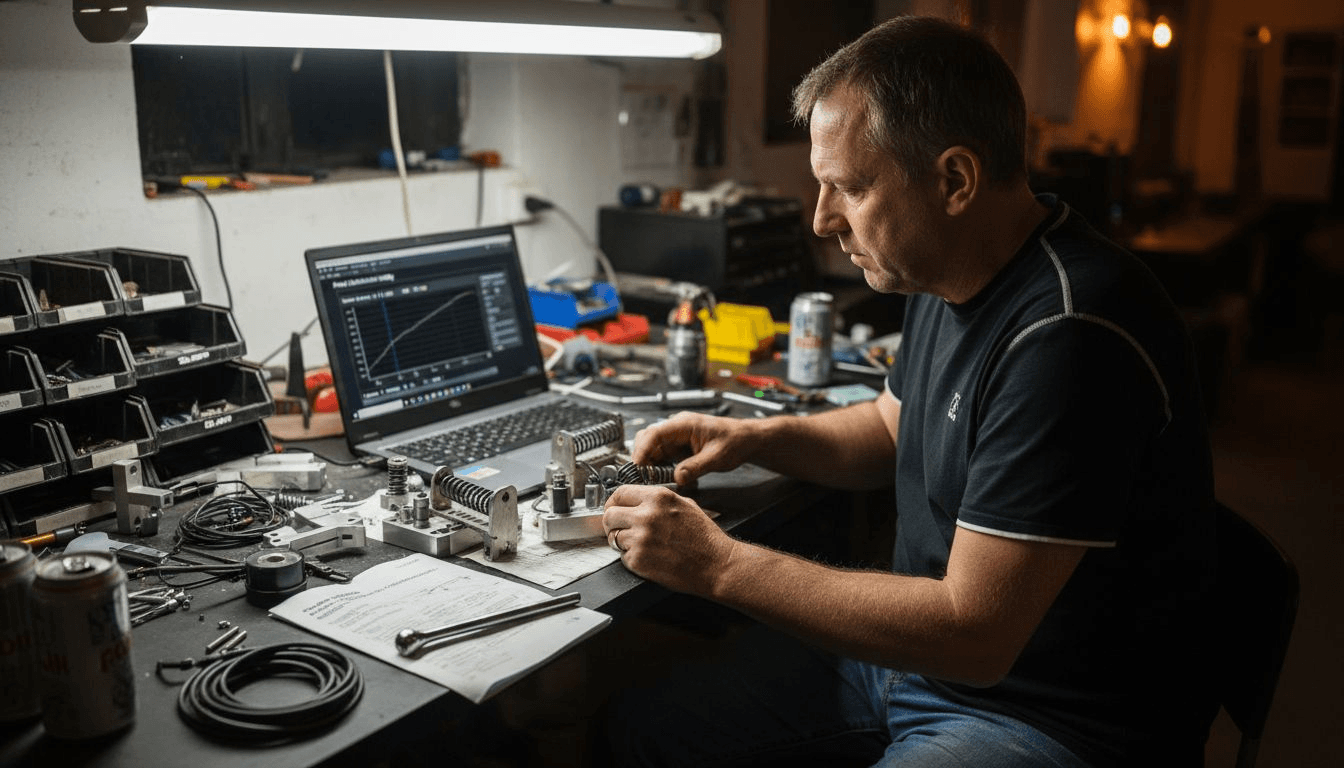
Before diving into calibration, gather the right equipment and knowledge. Successful load cell pedal adjustment depends on having compatible hardware, stable mounting, and access to manufacturer software. Skipping these fundamentals leads to inaccurate results and wasted effort.
Essential gear includes your load cell pedal set, calibration software specific to your model, a torque wrench for precise tightening, and a rigid sim rig. Having a compatible load cell pedal set with access to calibration software is essential, such as the Simagic P1000-3 Pedal Set. Loose pedal mounts cause sensor readings to fluctuate during use, undermining calibration accuracy. Secure every mounting point firmly to your cockpit frame before proceeding.
Basic familiarity with your sim racing software and pedal hardware settings is necessary. You don't need expert knowledge, but understanding where to find calibration menus and force curve controls saves time. Consult your manufacturer's manual for model-specific guidance on preload adjustment, software version compatibility, and recommended calibration sequences.
Required Tools and Equipment:
- Load cell pedal set (compatible with your wheel base)
- Manufacturer calibration software or game controller settings
- Torque wrench (5-10 Nm range for most pedals)
- Stable, non-flexing sim rig or cockpit
- USB cable with reliable connection
- Manufacturer manual for reference specs
| Tool/Item | Purpose | Notes |
|---|---|---|
| Load cell pedals | Primary hardware | Must support force adjustment |
| Calibration software | Configure sensor curves | Brand-specific apps preferred |
| Torque wrench | Precise preload setting | Prevents over-tightening damage |
| Stable rig | Eliminate movement | Flex corrupts sensor readings |
| Manual | Reference specs | Model-specific limits critical |
Step-by-Step Pedal Calibration Process
With tools ready, follow this sequential method to achieve precise, repeatable pedal calibration. Each step builds on the previous one, so resist the urge to skip ahead. Rushed calibration creates more problems than it solves.
Complete Calibration Sequence:
-
Secure Pedal Mounting: Tighten all mounting bolts to manufacturer torque specs. Check for any flex or movement by pressing hard on the brake pedal. Even slight wobble introduces calibration errors that compound during racing.
-
Zero the Load Cell Sensor: Open your calibration software and locate the zero or reset function. Zeroing the load cell sensor before each session is critical for baseline accuracy, as recommended for setups like the MOZA CRP2 Load Cell Pedals. Apply no force to the pedal during this step.
-
Set Maximum Force Point: Press the brake pedal to your desired maximum pressure. This defines 100% input. Most drivers prefer 50-80 kg of force for realistic feel, but personal preference varies. Record this value in your software.
-
Adjust Initial Force Curve: Start with a linear curve, then modify based on feel. Gradual adjustments prevent overcorrection. Test in a sim after each change to evaluate brake modulation at corner entry.
-
Configure Deadzone Settings: Set deadzone between 1-3% to eliminate sensor noise without adding lag. Too much deadzone creates a "dead spot" at pedal release. Too little allows electrical noise to register as input.
-
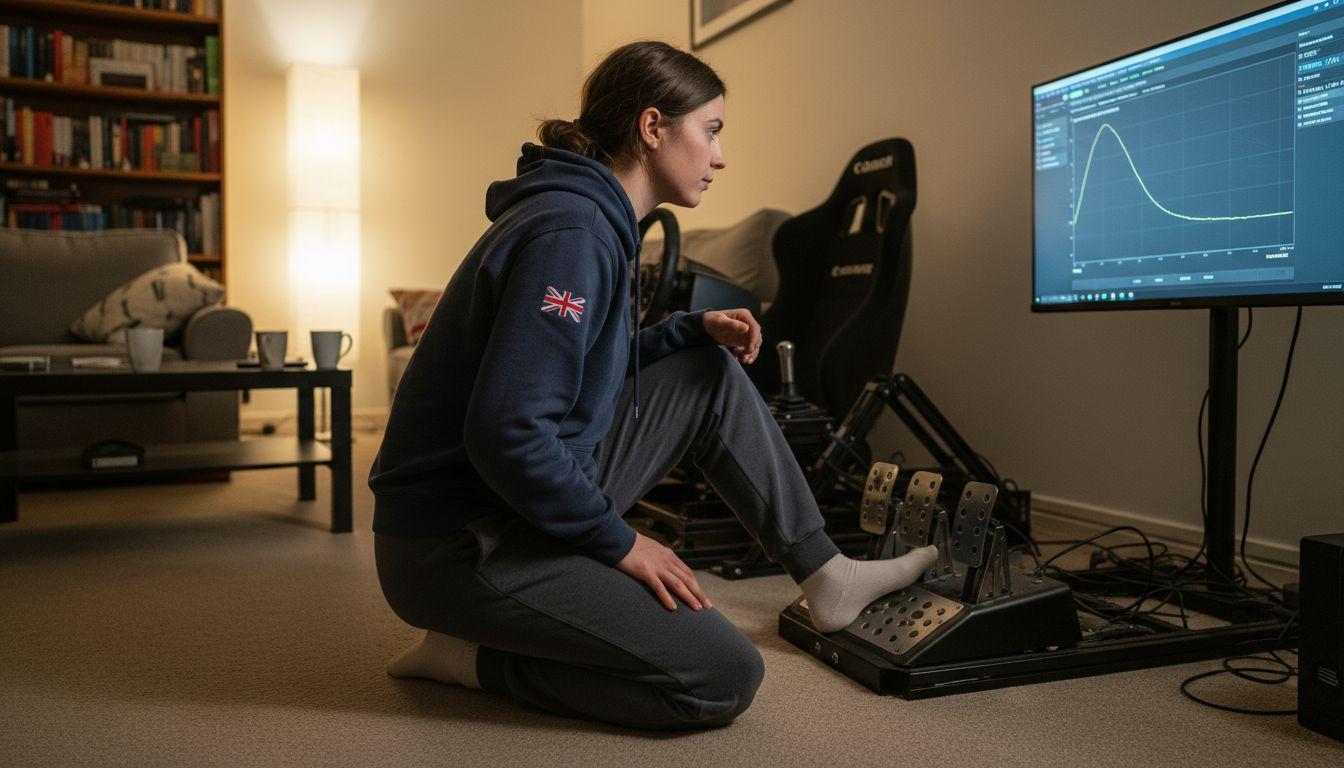
Validate with Telemetry: Run test laps and review brake input graphs. Look for smooth curves without sudden spikes or drops. Refine settings iteratively based on telemetry feedback until inputs match your intentions.
Repeat steps 4-6 until you achieve consistent, predictable brake response. This iterative process typically takes 20-40 minutes for experienced users. Beginners should expect an hour or more on first calibration.
Force Curve and Deadzone Customization
After basic calibration, refine your pedal feel through force curve and deadzone tuning. These parameters dramatically affect how pressure translates to braking force in-game. Getting this balance right separates good setups from great ones.
Force curves define how pedal resistance builds as you apply pressure. A linear curve offers consistent resistance throughout travel. Progressive curves increase resistance near maximum force, mimicking real hydraulic brake systems. Force curve adjustments improve accurate force feedback, enhancing realism in ways mechanical mods alone cannot achieve. Experiment with different profiles to match your driving style and the cars you race.
Deadzones filter sensor jitter that occurs at rest or minimal pressure. Every load cell exhibits some electrical noise. Without deadzone filtering, this noise registers as tiny inputs that upset car balance. However, excessive deadzones cause input lag, delaying brake response when you need it most.
Balance these parameters for precise brake modulation. Start with 2% deadzone and adjust up or down based on your sensor's noise characteristics. Test brake release during corner exit. If the car jerks or stutters, increase deadzone slightly. If brake application feels delayed, reduce it.
Different sims may require different profiles. GT cars with ABS benefit from aggressive initial bite. Formula cars need smoother, more progressive curves. Save multiple profiles and switch between them based on what you're racing. Consider setups like the Simagic P500 Pedal Set that support quick profile switching.
Pro Tip: Regularly revisit settings as pedal components wear. Elastomers compress permanently over time, springs lose tension, and load cells drift slightly. Recalibrate every 5-10 hours of use to maintain optimal performance. Keep notes on your settings so you can track changes and identify patterns.
Common Mistakes and How to Fix Them
Knowing what works matters, but avoiding what doesn't saves even more time. These frequent tuning pitfalls degrade pedal performance and risk hardware damage. Learn to spot and correct them early.
Neglecting regular recalibration causes sensor drift and inconsistent feel over time. Load cells are precise instruments, but they're not immune to environmental factors and component wear. Skipping recalibration causes pedal drift, worsening race control by up to 25% over extended sessions. Schedule recalibration as routine maintenance, not something you do only when problems appear.
Over-tightening preload springs ranks among the most common mistakes. Excessive mechanical force accelerates wear, damages threads, and often voids manufacturer warranties. Always use a torque wrench and follow specified limits. If you want stiffer feel, add elastomers or upgrade spring rates rather than cranking down bolts past recommended specs. Proper pedal preload adjustments balance feel with longevity.
Setting deadzones too high causes lag and poor responsiveness. This usually happens when drivers overcorrect for sensor noise. If your pedal feels mushy or delayed, check deadzone first. Reduce it in 0.5% increments until you find the minimum value that eliminates unwanted noise.
Ignoring software calibration after mechanical changes reduces tuning precision. Any time you adjust preload, swap elastomers, or modify pedal position, re-run the full calibration sequence. Mechanical changes alter force characteristics, invalidating previous software profiles.
Common Pitfalls to Avoid:
- Running outdated firmware or calibration software versions
- Calibrating on an unstable surface or loose rig mount
- Applying force during sensor zeroing procedures
- Copying settings from other users without testing your hardware
- Skipping telemetry validation after making changes
Pro Tip: Keep a calibration log with dates, settings, and any issues noted. Patterns emerge over time that help you predict when recalibration is needed. This proactive approach beats reactive troubleshooting every time.
Safety and Durability Considerations
To maintain your fine-tuned setup, follow these safety and durability guidelines. Proper care extends pedal lifespan, preserves warranty coverage, and ensures consistent performance over thousands of racing hours.
Always follow manufacturer recommended preload tension limits. These specifications exist for good reasons: material stress limits, thread engagement depths, and component fatigue tolerances. Exceeding them risks catastrophic failure during hard braking when you least expect it. Your pedals should inspire confidence, not concern.
Avoid excessive mechanical force beyond designed operating ranges. Load cells are rated for specific maximum forces, typically 50-150 kg depending on model. Stomping beyond these limits doesn't improve performance. It damages sensors and mounting hardware while providing no benefit.
Regularly inspect pedals for wear or damage signs. Check for cracks in mounting brackets, loose fasteners, frayed wires, or unusual play in pivot points. Catching issues early prevents mid-race failures and expensive repairs. Spend five minutes every month on visual inspection and basic maintenance.
Understand warranty terms before performing modifications. Some manufacturers void coverage if you disassemble load cells, modify electronics, or exceed weight ratings. Read the fine print so you know which adjustments are supported and which put you at risk.
"Proper preload ensures safety and lasting performance. Never compromise hardware integrity for marginal feel improvements. The best setup is one that remains consistent and reliable over the long term."
Maintenance Best Practices:
- Clean pedal surfaces monthly to prevent debris buildup
- Check electrical connections for corrosion or looseness
- Lubricate pivot points per manufacturer schedule
- Store pedals in dry environments to prevent moisture damage
- Document any unusual behavior immediately for troubleshooting
Expected Results and Performance Indicators
With safety assured, understand the tangible performance benefits proper calibration delivers. These measurable outcomes validate your effort and motivate continued attention to pedal optimization.
Calibration typically takes 20-40 minutes for experienced users. First-time setups may require 60-90 minutes as you learn your software and pedal behavior. This investment pays dividends immediately through improved control and consistency.
Brake force variability can reduce by up to 18% with proper calibration, improving stability during threshold braking and trail braking phases. Reduced variability means more repeatable brake points, tighter racing lines, and fewer lockups under pressure.

Lap time consistency improves by 10-20% as pedal predictability eliminates one major variable from your driving. You'll notice tighter lap time clusters and better sector-to-sector repeatability. This consistency matters more than raw pace in competitive racing.
Enhanced pedal responsiveness and realistic force feedback are typical user reports after optimization. You'll feel subtle weight transfer, tire grip changes, and ABS activation more clearly. This sensory feedback helps you drive at the limit with confidence.
| Performance Metric | Before Calibration | After Calibration | Improvement |
|---|---|---|---|
| Brake force variability | 22% deviation | 4% deviation | 18% reduction |
| Lap time consistency | ±0.8 seconds | ±0.2 seconds | 75% improvement |
| Brake modulation precision | 65% accuracy | 92% accuracy | 27% gain |
| Pedal response delay | 45ms | 12ms | 73% faster |
| User satisfaction rating | 6.2/10 | 9.1/10 | 47% increase |
Key Performance Indicator: Brake force variability reduction of 18% directly translates to measurably better race results and driver confidence.
These improvements compound over time as muscle memory develops around consistent pedal behavior. Your brain learns to trust the feedback, allowing faster, more aggressive driving without fear of unexpected pedal response.
Explore Premium Sim Racing Gear to Complement Your Pedal Setup
Having learned how to adjust and maintain your pedals, consider upgrading your full setup with precision hardware designed for compatibility and realism. Premium wheels and pedal sets from top manufacturers integrate seamlessly with the calibration techniques covered in this guide.
Discover direct drive wheels that pair perfectly with load cell technology. The Simagic FX Pro Racing Wheel delivers force feedback precision that matches your newly calibrated pedals, creating a cohesive force feedback ecosystem. For GT racing enthusiasts, the Simagic GT Neo Racing Wheel combines authentic rim design with high-torque performance. Complete your pedal upgrade with the MOZA CRP2 Load Cell Pedals, featuring the latest sensor technology and extensive customization options that reward proper calibration with exceptional feel.
FAQ
How often should I recalibrate my load cell pedals?
Recalibrate every 5-10 hours of active racing or immediately after any hardware changes, including preload adjustments or elastomer swaps. Environmental factors like temperature and humidity also affect sensor behavior, so recalibrate seasonally even with consistent use. Consistent recalibration prevents drift and maintains the 18% variability reduction this guide targets.
What deadzone settings work best for load cell pedals?
A deadzone of 1-3% balances sensor noise filtering with input responsiveness for most load cell pedals. Start at 2% and adjust based on your specific sensor's noise characteristics and your sensitivity to input lag. Higher-quality load cells often perform well at 1%, while budget options may need 3% to eliminate jitter.
Can I adjust pedal stiffness mechanically and via software?
Yes, mechanical and software adjustments serve complementary purposes. Preload tuning and elastomer selection change physical resistance and pedal travel, affecting the tactile feel under your foot. Software force curves refine how that physical pressure translates to braking input in-game, allowing fine-tuning without hardware changes. Optimal setups combine both approaches for maximum realism and control.
What are signs that my pedal setup needs maintenance?
Inconsistent brake feel, pedal drift where resting position changes, unusual creaking or grinding noises, and delayed input response all indicate maintenance needs. Physical inspection may reveal loose mounting bolts, worn elastomers, frayed cables, or damaged load cell housings. Address these issues immediately to prevent performance degradation and potential hardware failure during competitive racing.